The GitLab Agent for Kubernetes (agentk) is an active in-cluster component for solving GitLab and Kubernetes integration tasks in a secure and cloud-native way. The agentk communicates to the GitLab Agent Server (KAS) to perform GitOps operations.
In many examples, we see the agent being deployed with global-level permissions on your Kubernetes cluster. There are use cases where we want to reduce the scope of what agentk has access to. In this guide I will provide information on deploying agentk on your cluster, limiting what namespaces it can access, as well as using it to deploy your applications.
Prefer a video? Watch the walkthrough below to learn how to deploy agentk to your cluster:
How it works
Anytime a developer performs changes to a manifest file managed within GitLab, the agentk will apply these changes to the Kubernetes cluster.
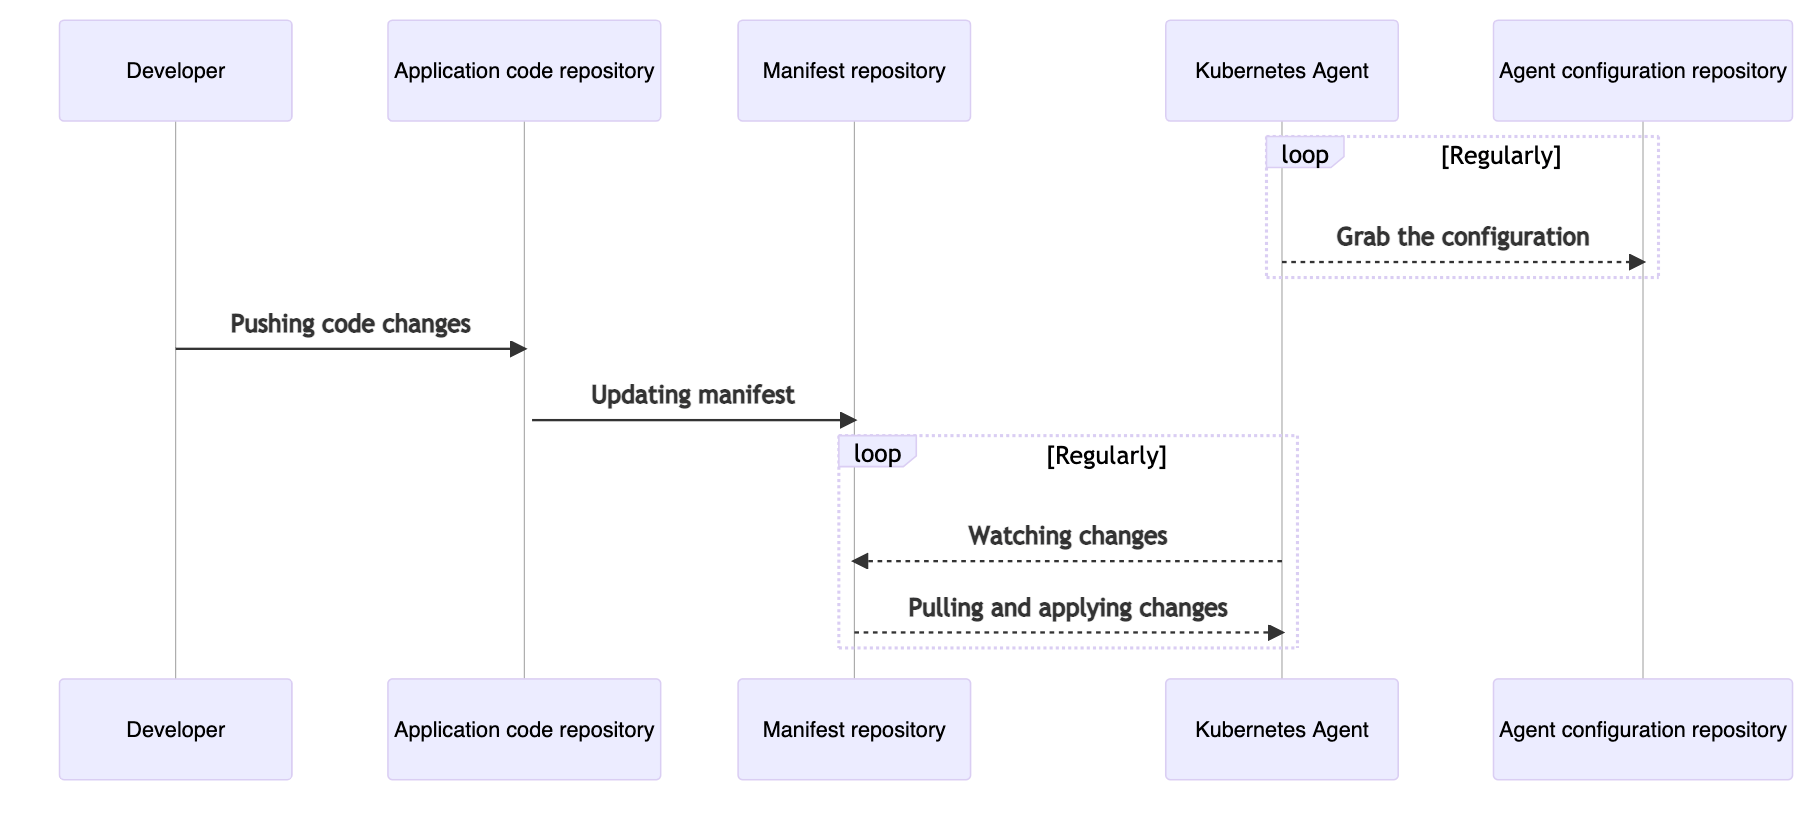
How a change to a manifest file in GitLab is applied to the Kubernetes cluster.
The agentk and the KAS use bidirectional streaming to allow the connection acceptor (the gRPC server, GitLab Agent Server) to act as a client. The connection acceptor sends requests as gRPC replies.
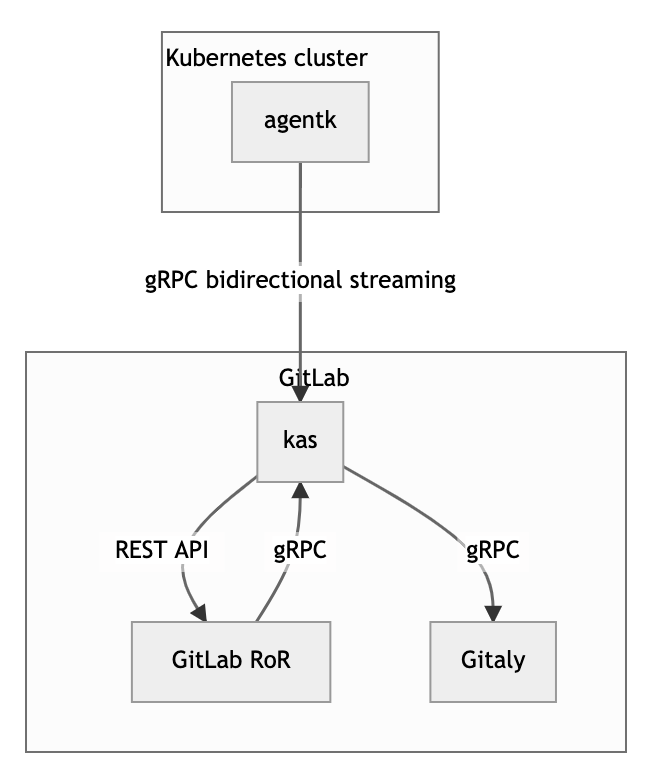
How bidirectional streaming with agentk works.
-
GitLab RoR is the main GitLab application. It uses gRPC to talk to kas.
-
agentkis the GitLab Agent for Kubernetes. It keeps a connection established to a
kas instance, waiting for requests to process. It may also actively send information
about things happening in the cluster. -
KAS is the GitLab Agent Server, and is responsible for:
- Accepting requests from agentk
- Authentication of requests from agentk by querying GitLab RoR
- Fetching the agent's configuration file from a corresponding Git repository by querying Gitaly
- Matching incoming requests from GitLab RoR with existing connections from the right agentk, forwarding requests to it, and forwarding responses back
- Polling manifest repositories for GitOps support by communicating with Gitaly
How to deploy the GitLab Agent
In order to deploy the agent, we require the following:
- Kubernetes cluster (I am using Google Kubernetes Engine, or GKE)
- The GitLab project which will hold the agentk configuration and deployment manifest, you can import Simple Agent K which includes an application and CICD configured
Note: The agentk configuration file and deployment manifests can be located in different projects. It just depends how you want to organize the GitOps workflow.
1. Create .gitlab/agent/agent-name/config.yaml directory in your project and replace agent-name with whatever you want to name your agent.
gitops:
  manifest_projects:
  - id: "Your Project ID"
    paths:
    - glob: '/manifests/*.{yaml,yml,json}'
Remember to replace Your Project ID with the projectID of your project, seen below:
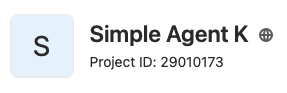
Fill in the projectID section with your information.
Note: You can also use the path to the project in GitLab, i.e., mygroup/mysub/myproject.
2. Create agent record in GitLab
A GitLab Rails Agent record is used to associate the cluster with the configuration repository project.
- Go to Infrastructure > Kubernetes tab
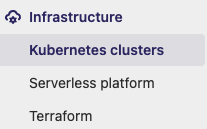
Click the Kubernetes cluster tab in GitLab.
- Click on the GitLab Agent managed clusters tab
What the GitLab Agent tab looks like
- Click the Install a new GitLab Agent button
What the "Install new GitLab agent" button looks like.
- Select your agent
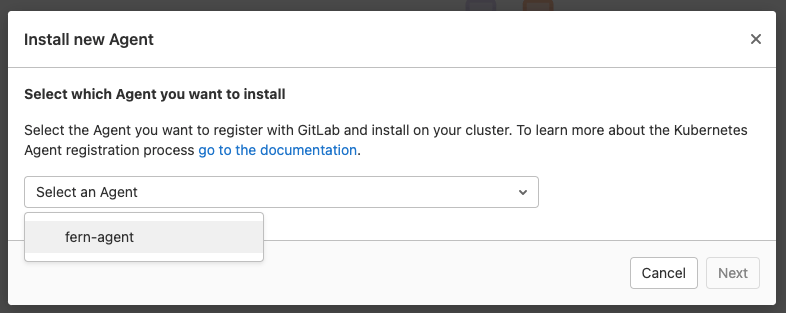
How to select your agent in GitLab
- Save the provided token
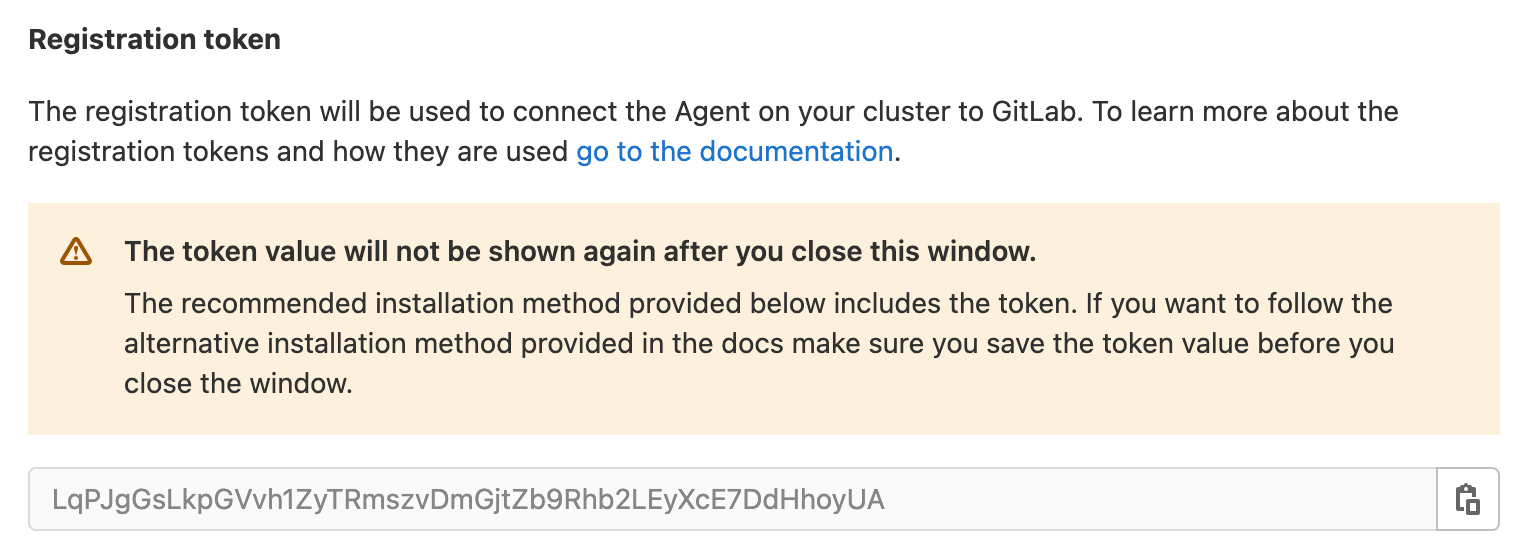
Click here to save your provided token.
3. Open a Terminal window
4. Scope kubectl to your cluster
$ gcloud container clusters get-credentials fern-gitops-2 --zone us-central1-c --project group-cs-9b54eb

Fetching cluster endpoint and auth data.
kubeconfig entry generated for fern-gitops-2.
5. Create the namespace for the Kubernetes agent
$ kubectl create ns gitlab-kubernetes-agent

namespace/gitlab-kubernetes-agent created
6. Create agent secret
This secret is used to store the token needed to configure the agent.
$ kubectl create secret generic -n gitlab-kubernetes-agent gitlab-kubernetes-agent-token --from-literal=token='YOUR_AGENT_TOKEN'

secret/gitlab-kubernetes-agent-token created
7. Apply the agentk deployment with limited access
In this deployment below, we will create the following:
Namespaces
- gitlab-kubernetes-agent: Where the agent will be deployed
- dude: A namespace where agentk has permission to deploy
- naww: A namespace where the agentk has no permissions
Service accounts
- gitlab-kubernetes-agent: Service account used for running agentk
Deployments
- gitlab-kubernetes-agent: The actual agentk client application
Cluster roles and bindings
- gitlab-kubernetes-agent-write-cm: Permission for agentk to write all configmaps on the cluster
- gitlab-kubernetes-agent-read-cm: Permission for agentk to read all configmaps on the cluster
Roles and bindings
- gitlab-kubernetes-agent-write: Permission for agentk to write all resources on gitlab-kubernetes-agent ns
- gitlab-kubernetes-agent-read: Permission for agentk to read all resources on gitlab-kubernetes-agent ns
- gitlab-kubernetes-agent-write-dude: Permission for agentk to write all resources on dude ns
- gitlab-kubernetes-agent-read-dude: Permission for agentk to read all resources on dude ns
The next step is to create the deployment file agentk.yaml:
apiVersion: v1
kind: Namespace
metadata:
  name: dude